BeagleBoard-xM Enclosure Assembly Instructions

Step 1: Prep the Parts

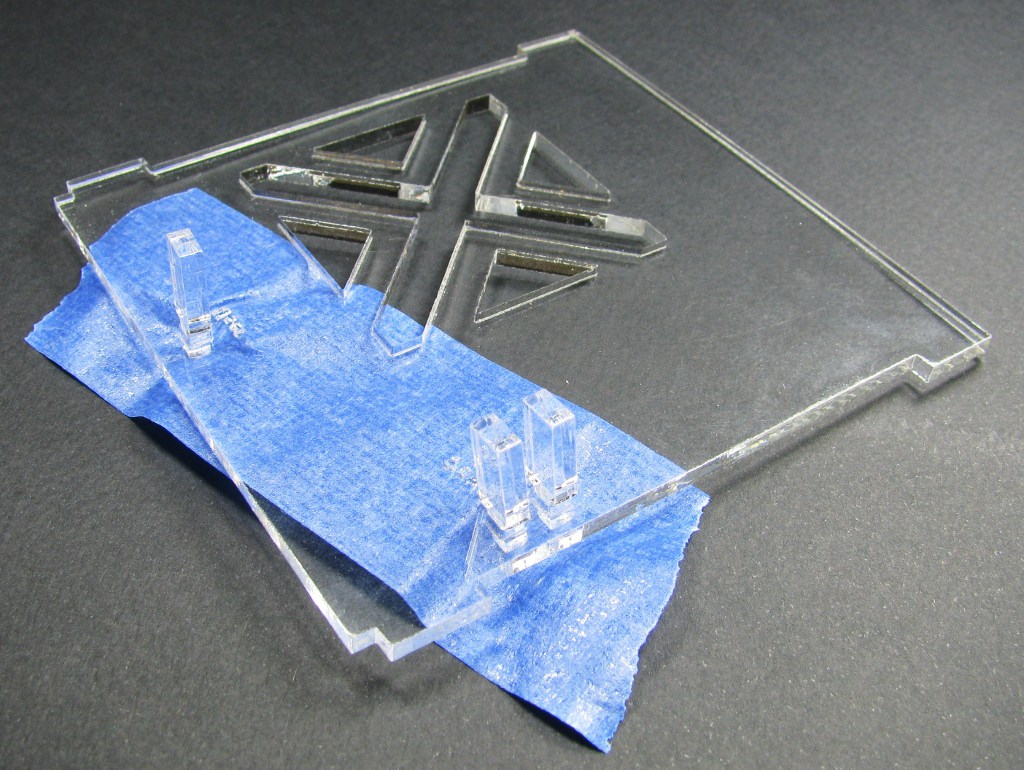
Remove the paper mask from all the acrylic parts in the kit.
Step 2: Mount the Board

Using the M3x14 bolts and nylon standoffs in the kit, mount the BeagleBoard-xM to the bottom piece. Use the holes for access to the IO ports as a guide for fining the proper orientation.
Step 3: Start Assembling the Case

Clip the side with the audio jacks and the side with the Ethernet port to the blank side as shown.
Step 4: Install the Bottom

Install the bottom piece into the slots on the blank side and line the ports up on the two already installed sides.
Step 5: Install the Top

Install the button extensions by placing them in their holes as shown. Leave the top piece in this orientation (upside down) so the extensions don't fall out and install the top by flipping the whole enclosure over and sliding the top into its slots as you did the bottom. When you're done it should look like this:

Alternatively, you can use some masking tape to hold the buttons in place while you install the top, like in this kit's assembly:
Step 6: Finish Assembly
Install the side with the serial port and insert the clips and you should have a completed case, like this:


If you need to access the expansion ports on the bottom of the board, windows to these ports have been provided. Note that this enclosure my not be compatible with other BeagleBoard-xM accessories though.

If you'd like to grab one of these enclosures, head over to my web store. The files for this case are also available for download on my Thingiverse page if you've got access to a laser cutter or want to make modifications.

